

of this week’s Lens-Artists Challenge, led by Patti Moed (link here). Patti highlights the various techniques to make make the subject of an image the real star of the show.
Simplify the background
I like to use this technique in post processing images of city skylines or of a view that looks up the side of a building. That’s espcially true when there’s a bland, washed out sky and I’m post processing in monochrome. Below are three different views of the TransAmerica Pyramid in San Francisco. In each image I either darkened or lightened the blue sky in total, and then removed clouds either by healing or cloning.

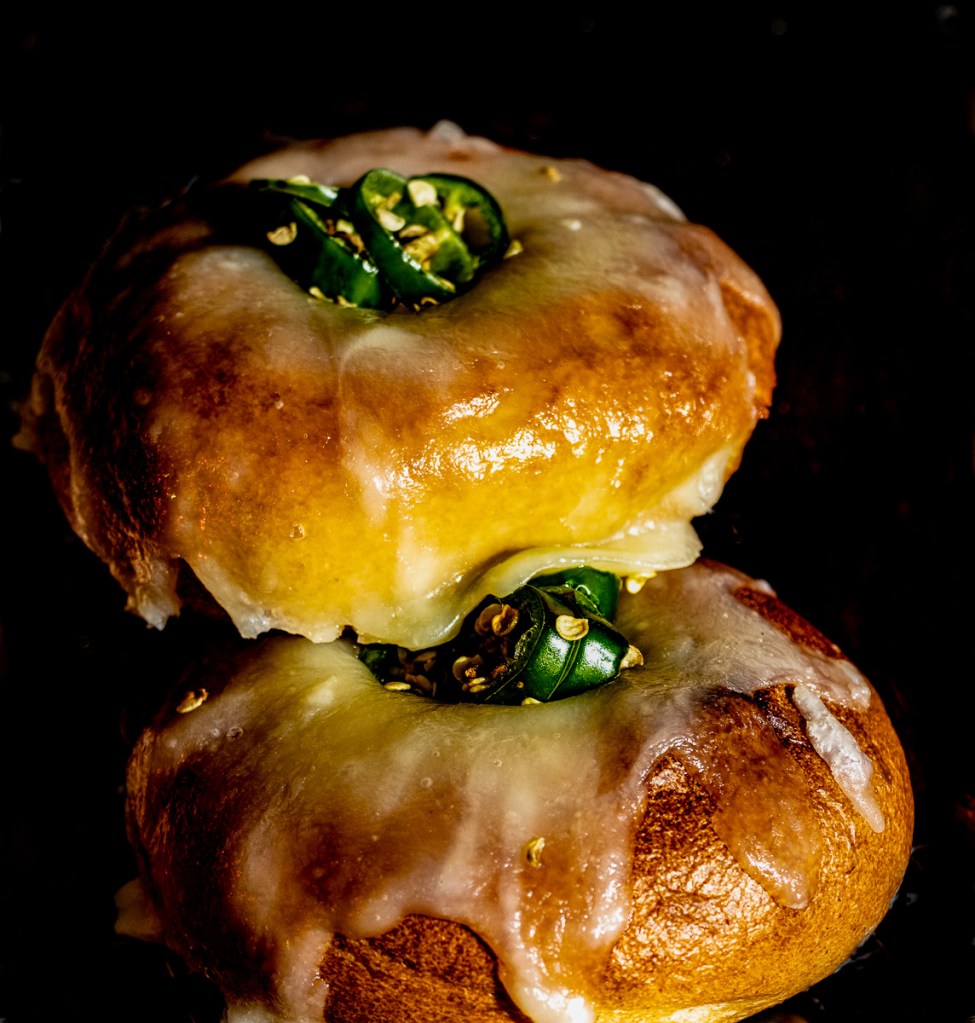
I like to use a neutral background in some of my images of food. When I visit San Francisco on a Sunday morning I often stop at Tony Gemignani’s, Toscano Bros and Dago Bagel shop. In the image below I took out everything but the bagels. Note: That’s asiago cheese melted on top.
Leading lines
One of the most common techniques in photography, leading lines deliver the viewer’s eye to the subject.
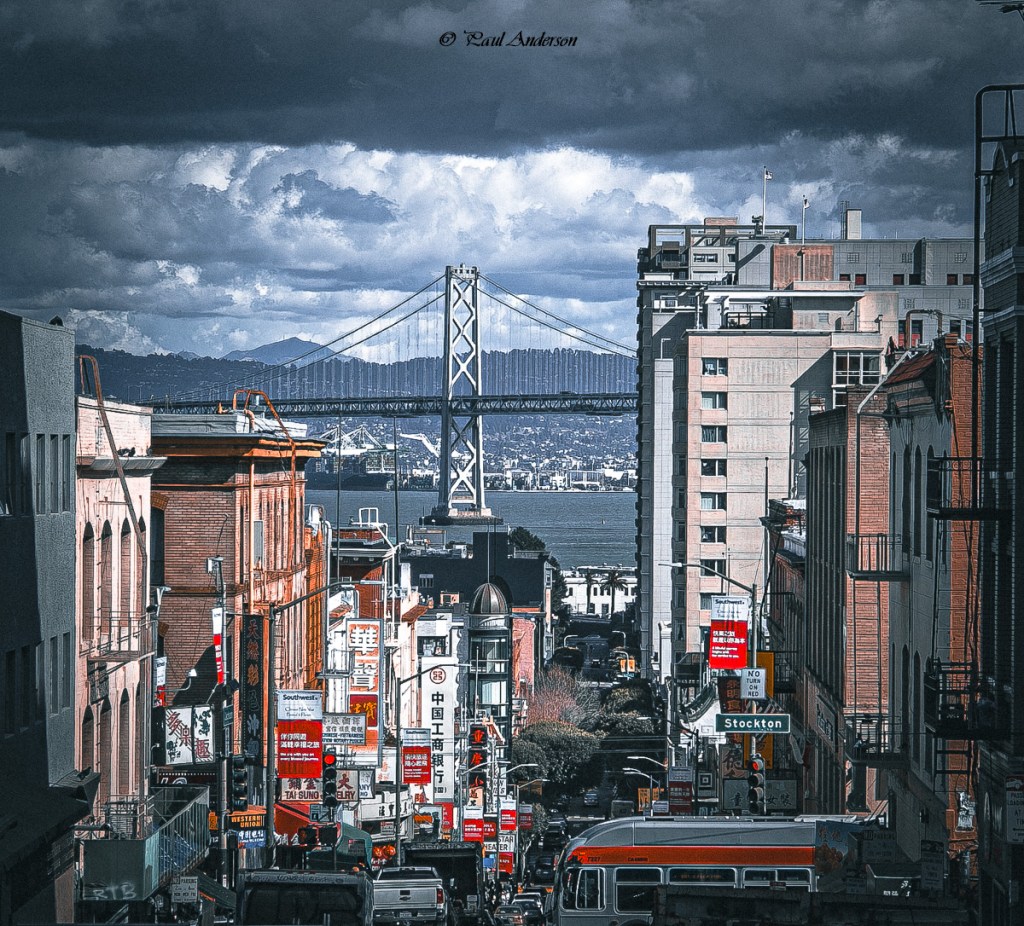
The image below is looking down Washington Street in Chinatown at the tower of the San Francisco-Oakland Bay Bridge (recently named the Willie Mays Freeway). The buildings lining Washington serve as the leading lines as does the dark ceiling of clouds.
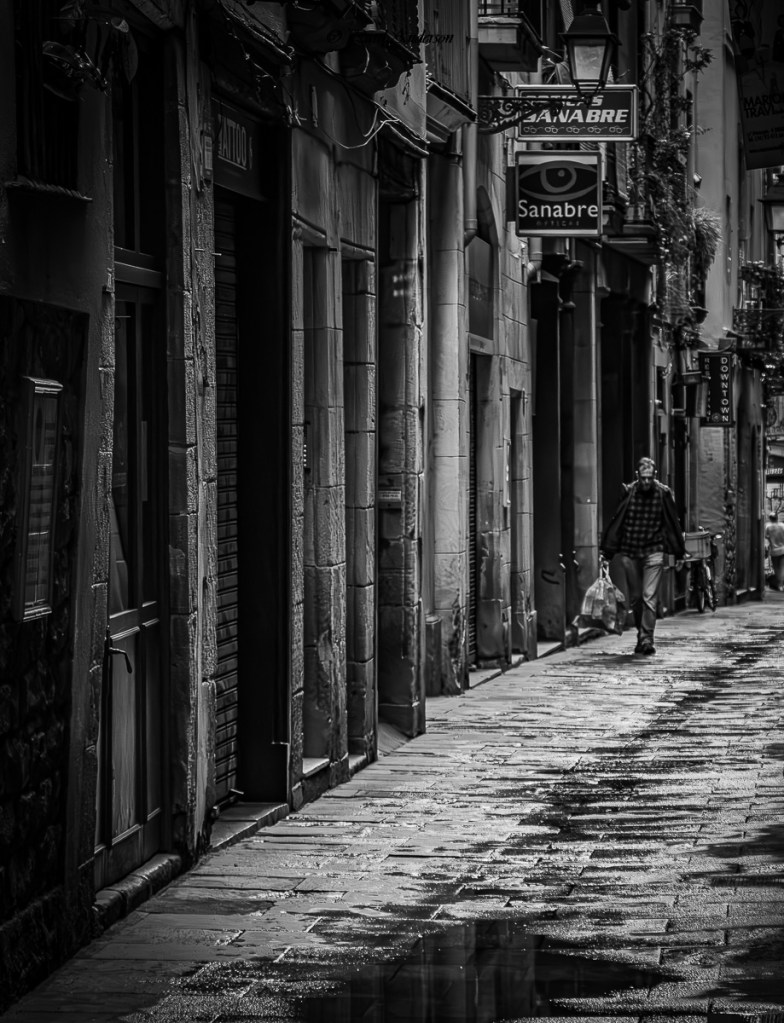
Leading lines can be the subject of a photo when they don’t necessarily point to an object but rather take the viewer on a journey to a vanishing point, or a what’s around the corner moment. The image below was taken in Barcelona after a rain shower. In post processing I went with a dark theme and added a slight vignette to help give it a noir look.
Vary Your Subject Placement
The tendency is always to place the subject dead center. In her post, Patti explains the value of subject placement succinctly, “ to vary the location of the subject and not always place it on center stage, which is predictable and a bit boring for the viewer. Sometimes the unexpected positioning adds an element of surprise.”
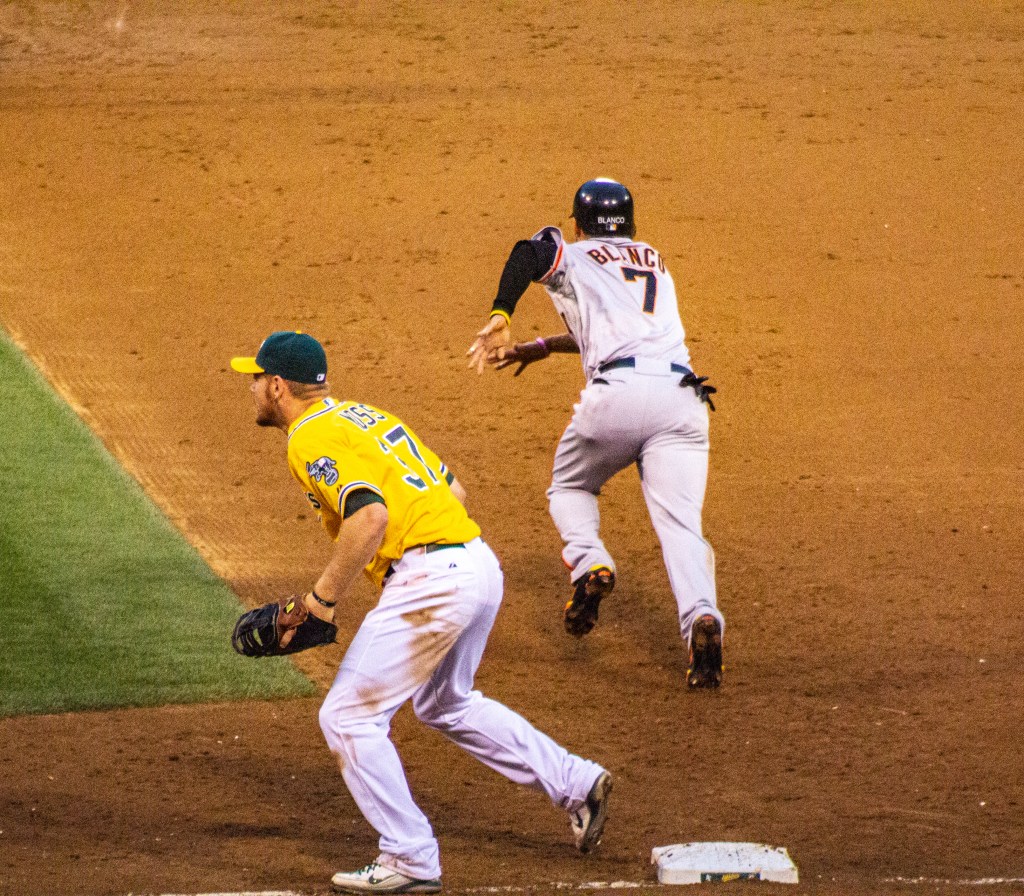
I try to use subject placement when the subject is in motion, leaving the subject somewhere to go. In the image below, Gregor Blanco is attempting to steal second base. If I’d centered the shot he would have no place to go. Leaving space in front adds to the drama. Note: He was safe.
Selective focus
It’s all about depth of field. Home in on your subject and the rest is just a blur. Sometimes, as opposed to a neutral background of gray, black, or white, the blurred background can create an appealing backdrop that becomes an attractive co-star. The photo below was taken using a macro lens so a shallow depth of field is a given. In order to enhance the flower, I used the dehaze function and darkened the shadows, and then I enhanced the black.

Get In Closer
Patti suggests getting in closer in order to leave no doubt about who or what the subject is all about. I took the image below of an antelope while visiting Yellowstone National Park.
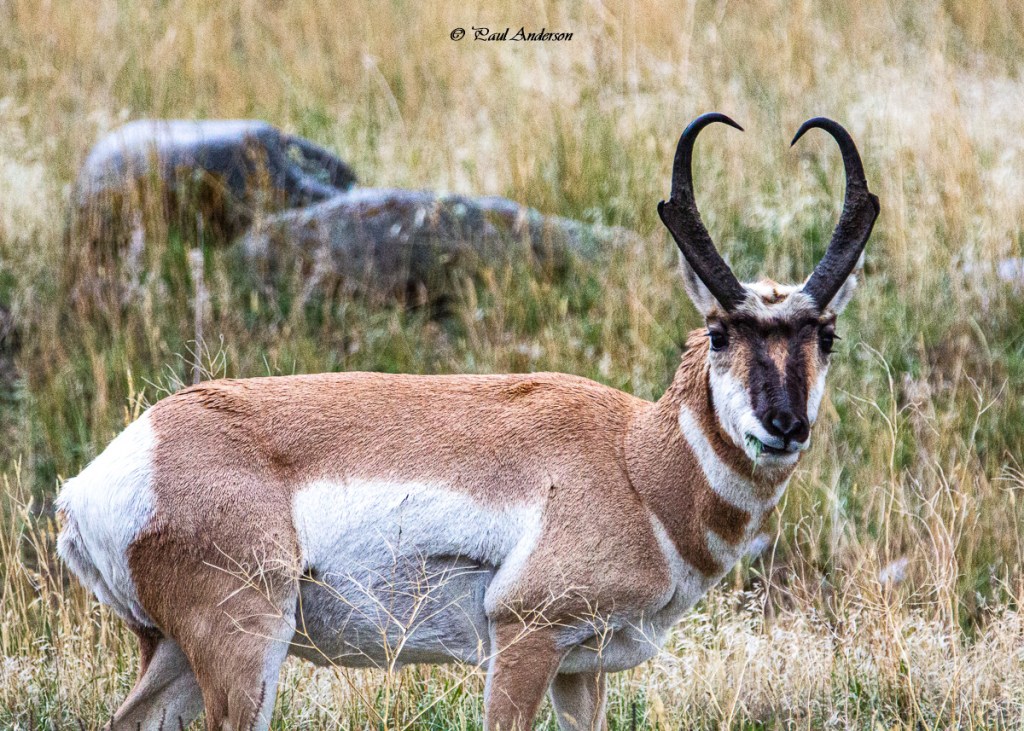
But why not get closer?
When I was in Nevada I shot images of the wild horses, including this one who allowed me get closer than I expected.

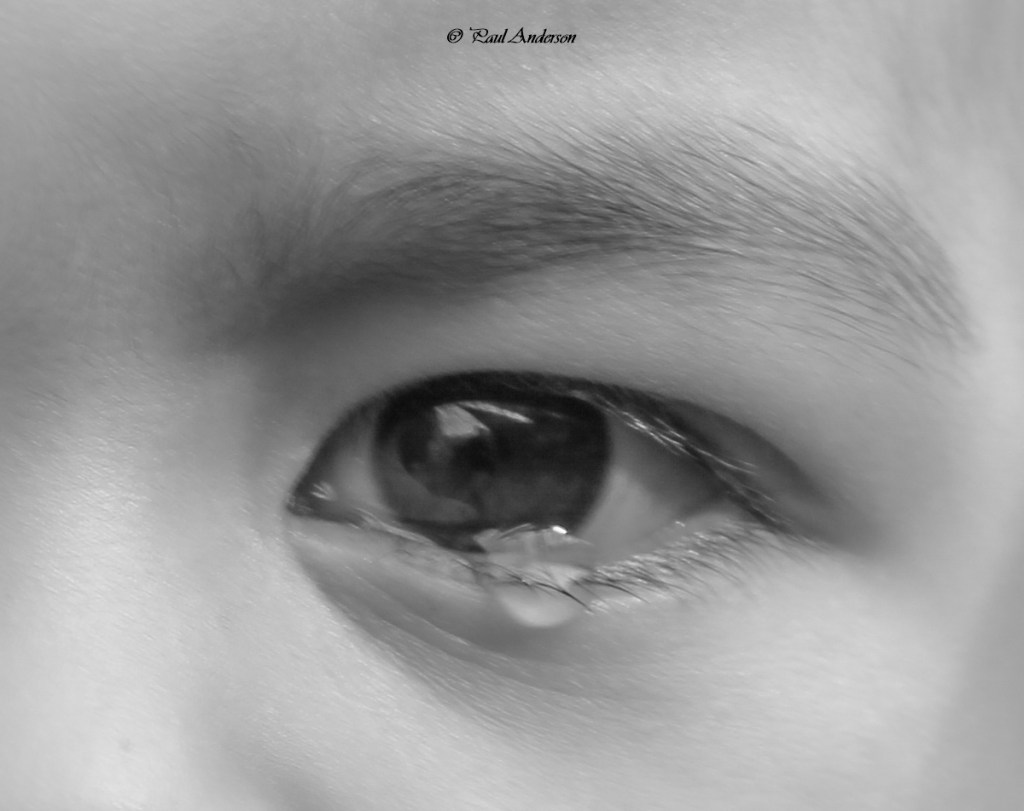
Why not drill down even deeper. During his first birthday party, my grandson wasn’t diggin the happy birthday songs or the cheering. In post processing I cropped a photo of a tear in the young boy’s eye.
When I want to really focus into the subject’s soul I sometimes use the vignetting tool in post-processing. The image below is also an example of a neutral background as well as selective focus, as I focused on the eye, knowing that her nose would be a little soft.
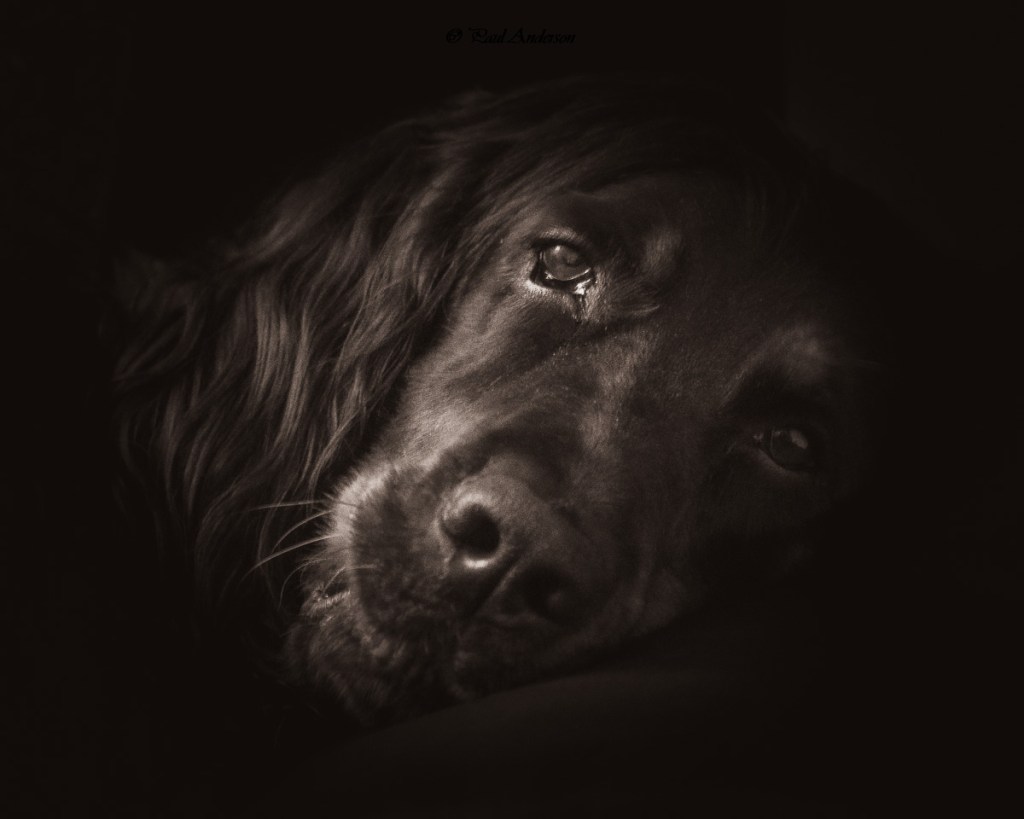

The eye with tear and especially the dog’s face – how wonderfully done Paul! I like the Pyramid pictures a lot too.
LikeLike
Wonderful examples for this challenge. I loved your two portraits–your grandson and dog. The eyes capture so much soul. The action photo at the baseball game is fantastic.
LikeLike